
How To Clean A Hamsters Cage- 7 Simple Steps!
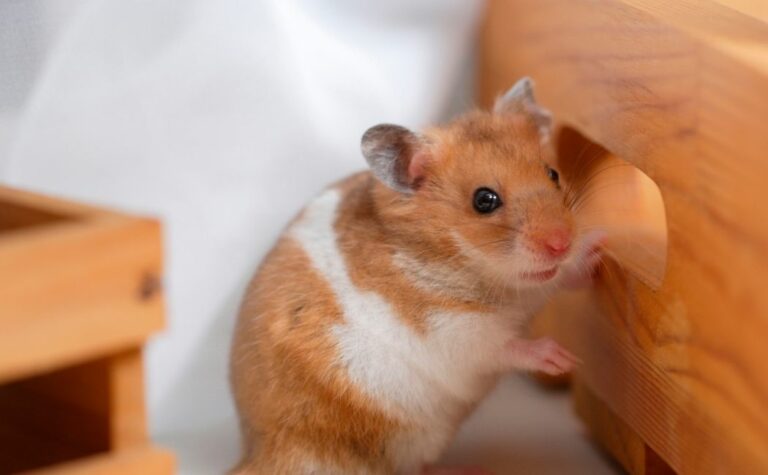
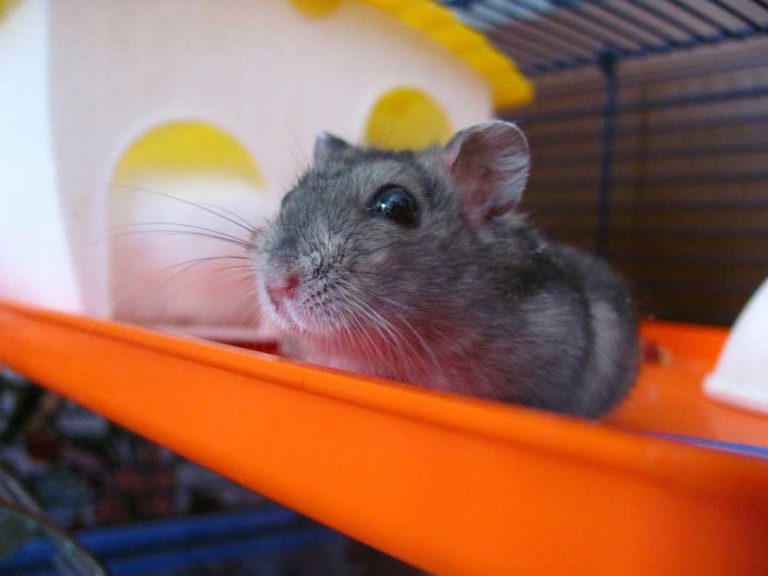
One fact about hamsters is that they thrive in a healthy environment. Other than a balanced diet and exercise, you have to ensure that your hamster is always living in a healthy environment.
A dirty cage will have an effect on the hamster’s health and is likely to lead to diseases that your pet may be susceptible to. Hamsters are very sensitive and vulnerable, so it’s always best to make sure that their environment is clean and free from any harmful germs.
But how do you clean your hamster’s cage right? How often should it come? When is the best time to clean it? What do you need for the job? Why does the cage even smell in the first place?
If you are curious about these questions, then you are not alone. I also have a hamster and had the same questions so I decided to consult my vet and other experienced hamster owners. Luckily enough for me, they answered all my questions and my pet seems to be happier and healthier than before.
And without further ado, let’s get right into it.
How Often Should I Clean My Hamster’s Cage?
Hamster experts and vets agree that you should clean your hamster’s cage once per week. If you have several hamsters living in the same cage, then cleaning needs to come sooner than after a week.
Hamsters are much more like cats; they are very clean animals who don’t want to live in a dirty environment. A clean hamster cage will make your pet comfortable and also happy– and what pet owner doesn’t want their hamster happy?
When Should I Clean My Hamster’s Cage?
You should clean your hamster’s cage during the day when it’s light. That way, hamsters are less active and won’t see you as a distraction to their fun. Keep in mind that the little fellas are nocturnal.
However, always ensure you stick to the day of the week you choose for cleaning as well as the time. This way, your hamster won’t get stressed as it could happen with irregular cleaning sessions.
Why Does My Hamster Cage Smell?

Poop, pee, and uneaten bits of food are the main reasons why your hamster’s house smells. It’s especially the pee that’s behind that awful smell that comes from your hamster’s cage.
Fortunately, hamsters naturally choose to pee in one corner of their cage. Pick the corner that’s not on the hamster wheel or not near where he sleeps and try to locate his toileting spot for daily cleaning.
If you locate the correct spot, then removing the beddings in that corner should be enough to get rid of the smell. Your hammy is less likely to change their peeing corner, but it can still happen.
You now know how often you should clean your hamster’s cage, when, and why the smell. However, we still have a core question that needs to be answered before you start doing the dirty work.
How Should You Clean A Hamster’s Cage?
Keeping your hamster cage clean is possible by following these seven easy steps. When you go by these steps, you will find it easy to get the job done and your pet will appreciate you for it.
7 Easy Steps To Clean A Hamster’s Cage
Step 1: Get The Paraphernalia For The Job
As simple as the task looks, it may not be effective without having the right tools for the job. You want the best results in every cleaning session, so make sure you have the right cleaning essentials.
The cleaning supplies include;
- Vinegar
- Clean cloth/ wash clothes
- Hand towel
- Mild hand soap
- Garbage bag
- Replacement beddings
- Cleaning gloves
- Litter scoop
- Brush
Step 2: Move Your Hamster From The Cage

Once you have all the accessories you need for the job, the next thing is to move your hamster pet to a safe location. Cleaning can cause your little furry friend stress, so it’s always best to ensure they aren’t around.
Find a safe enclosure and keep your pet there in the meantime. If you have a spare cage, then it will come in handy. It’s a nice idea to enclose them with their favorite exercise ball, other toys, and little treats to keep them engaged as you work on their cages.
Step 3: Remove Everything From The Cage
Remove all the accessories from your hamster’s cage before cleaning it. Ensure that you empty the cage of food bowls, water bottles, hideouts, all uneaten food, hamster wheels, and other cage accessories inside.
Also, scoop out all beddings, whether they seem clean or not. Only avoid smelling the beddings as you can easily inhale the Lymphocytic Choriomeningitis or LCMV, viral infection transmitted from rodents to humans.
Ensure that you use gloves and where applicable litter scoop to prevent infection. There are many other infections you can easily contract from your hamster pet or their accessories.
Step 4: Wash The Cage With Vinegar
Wash the cage with vinegar using a damp cloth or wet wash clothes. Mild soap, hand soap, or a safe cage cleaning solution will come in handy. You can also use a diluted mixture of vinegar and water to sanitize the cage.
However, if you choose to use vinegar, always ensure that you rinse it thoroughly. You don’t want any residue of vinegar left since it can affect your pet. You will know that the cage is safe for your pet when you can’t smell the vinegar.
The model of cage will determine the approach you use when cleaning. If you have a modern hamster cage, then it’s most likely possible to take it apart for better access and thorough cleaning. However, if you have one of the older-style cages, you can still get the job done without having to disassemble the whole thing!
After a thorough cleaning and rinsing of the cage, now use the hand towel to pat dry the cage. You don’t want any water left as it can easily attract mold.
Step 5: Clean The Accessories
Your hamster’s accessories are what you kept safe in the second step, now it’s time to clean them. Use lukewarm water and mild dish soap to scrub off any dirt on the wheel, water bowls, food bowls, etc.
Also, give a nice wipe to those that need that kind of cleaning. Keep in mind that the accessories can still contain bacteria and a few traces of urine and poop so it’s best you also give them some decent level of cleaning.
Once you are done with cleaning and rinsing, leave everything to dry. You should only return the accessories when the cage or the essentials are dry!
Step 6: Get New Beddings

Now that you have the right cleaning products and accessories are clean, it’s time to get fresh bedding for your pet.
The new clean bedding material should be enough to cover the entire floor of the cage. Actually, they need to be at least two to three inches high. Only ensure that you DON’T use pine bedding or cedar bedding, as they are harmful to hamsters.
Once you are done with the beddings, get all accessories back into the cage, each in its initial position. This includes the water bottle, wheel, toys, food bowl, and any other thing you removed from the cage. You can also consider re-arranging it depending on your hamster’s preference!
Step 7: Return The Hamster To Their Cage
After everything has dried up and everything is in order, now take your hamster from the spare enclosure and return them to the clean cage.
Ensure that they have fresh food and water, plus their favorite toys. You can also consider giving them a treat or two to make sure they are okay with the new beddings.
And that’s pretty much it. Follow these steps every week or two weeks, depending on your hamster’s lifestyle, to ensure a clean and healthy place for them to live in!
In Conclusion
Cleaning your hamster’s cage doesn’t have to be complicated. All you need is to follow these simple steps and it will be done in no time! With the right accessories and the provided guideline, no one will have a hard time cleaning their hamsters’ cages!